
I usually only talk about knitting and I like reading about knitting. More importantly, I like knowing the process people go through when coming up with patterns and new ideas. So I thought I’d let you in on my process. Not for knitting (that will come later) but rather for making gorgeous stitch markers. So here’s my thought process.
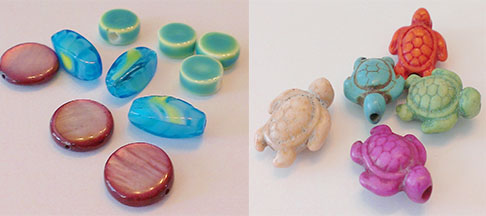
1. Getting Beads
Head over to your local craft store and search through their bead collections. There are certain characteristics I look for such as colour, smoothness and size. I select a medium size bead (no taller than 1 inch and no wider than 2 inches), it’s smooth with no sharp edges or rough surface (so it doesn’t snag or pull precious yarn) and I look for a bright, saturated colour (sometimes I choose a white bead but only if it’s more of an ivory and uber gorgeous).
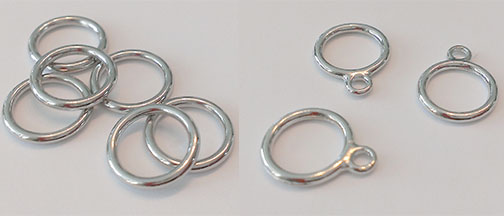
2. Selecting a Ring
I don’t use jump rings (they look bulky and like they belong on a keychain) or split ring (those are the one with a ‘cut’ in it and I don’t want them falling apart). Instead I use metal clasps (they’re intended to be used as a clasp for bracelets or necklaces). I prefer clasps because it’s smooth (won’t snag) and you can use either a head pin or beading wire to attach the gems/beads. Also, make sure you buy a few different sizes (clasps that fit on a size 15 US needle won’t work for a size 3 US needle).
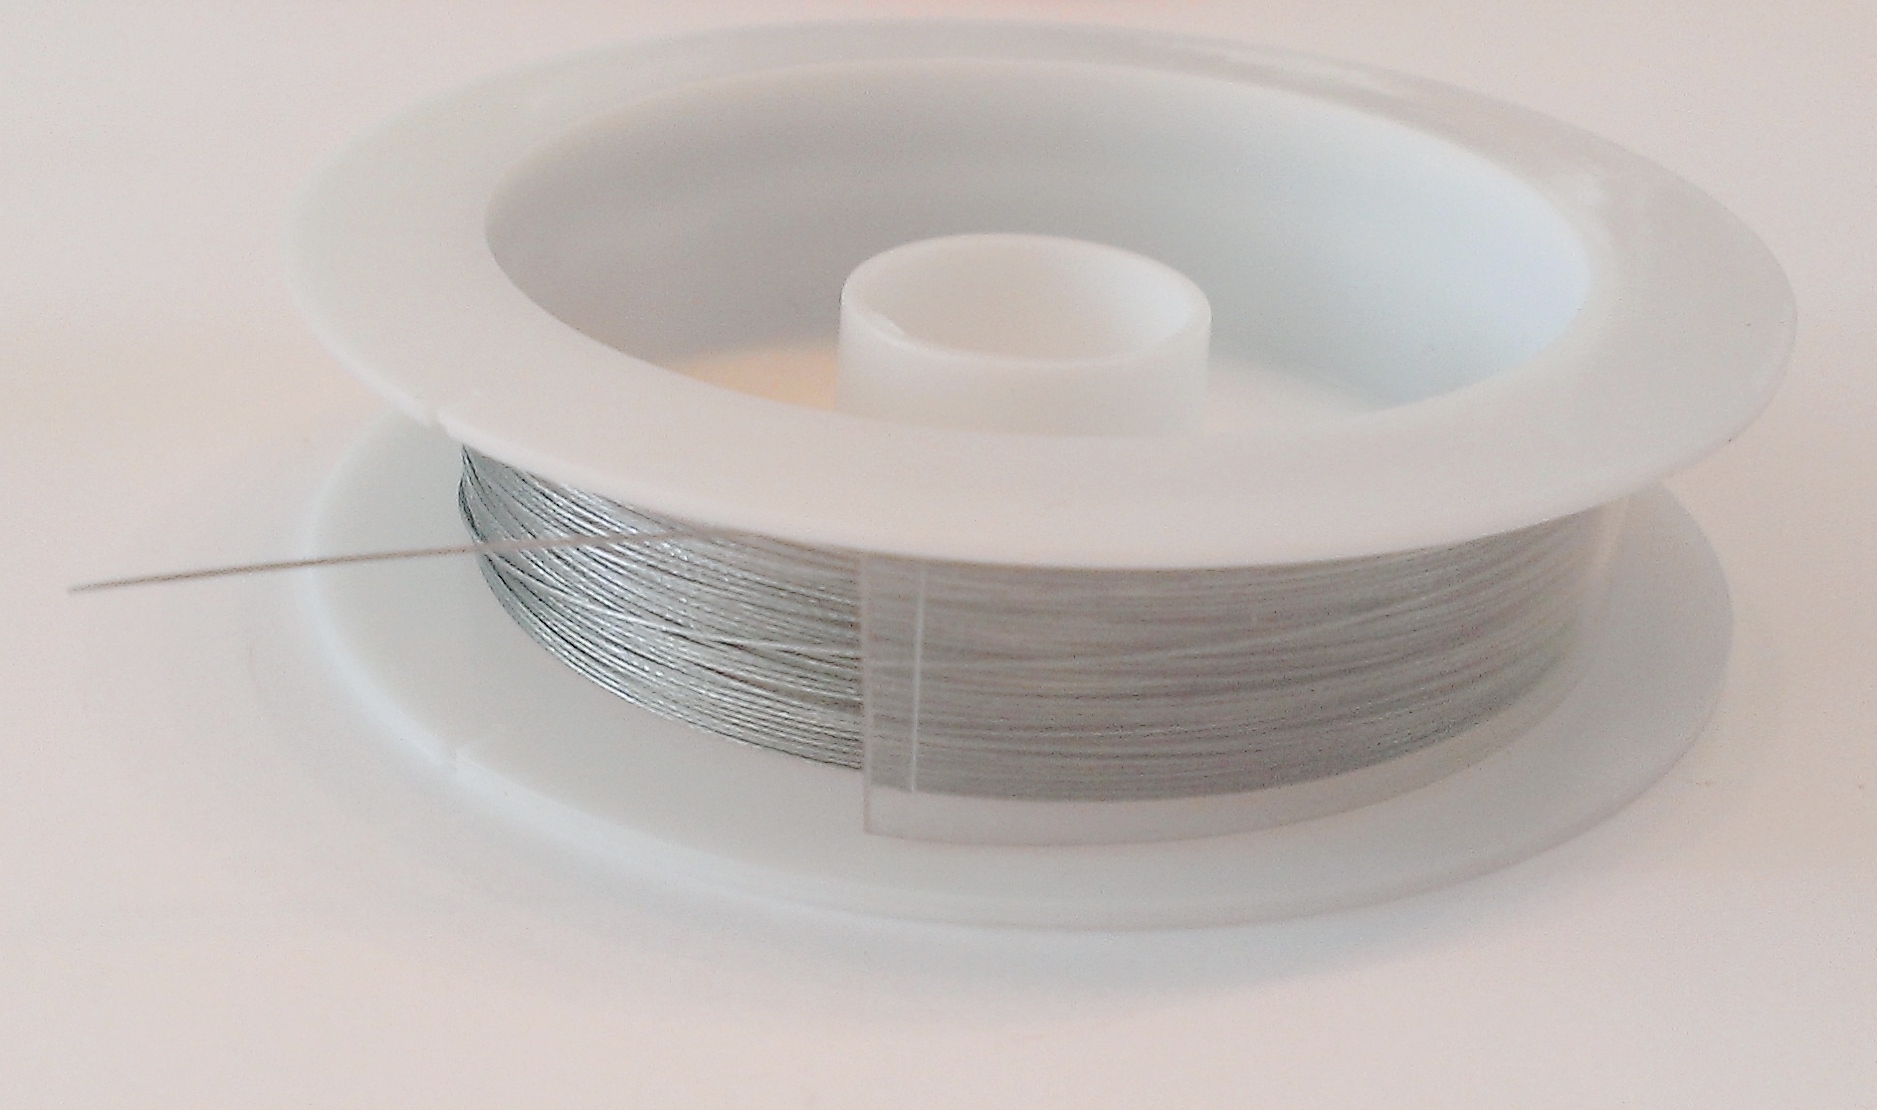
3. Selecting a Wire
You can attach beads to the rings using a head pin however I prefer a wire. Some head pins are difficult to wrap around itself and I often end up scraping the ring (which looks horrible when trying to photograph). You’ll want a smooth beading wire so it doesn’t snag your yarn.
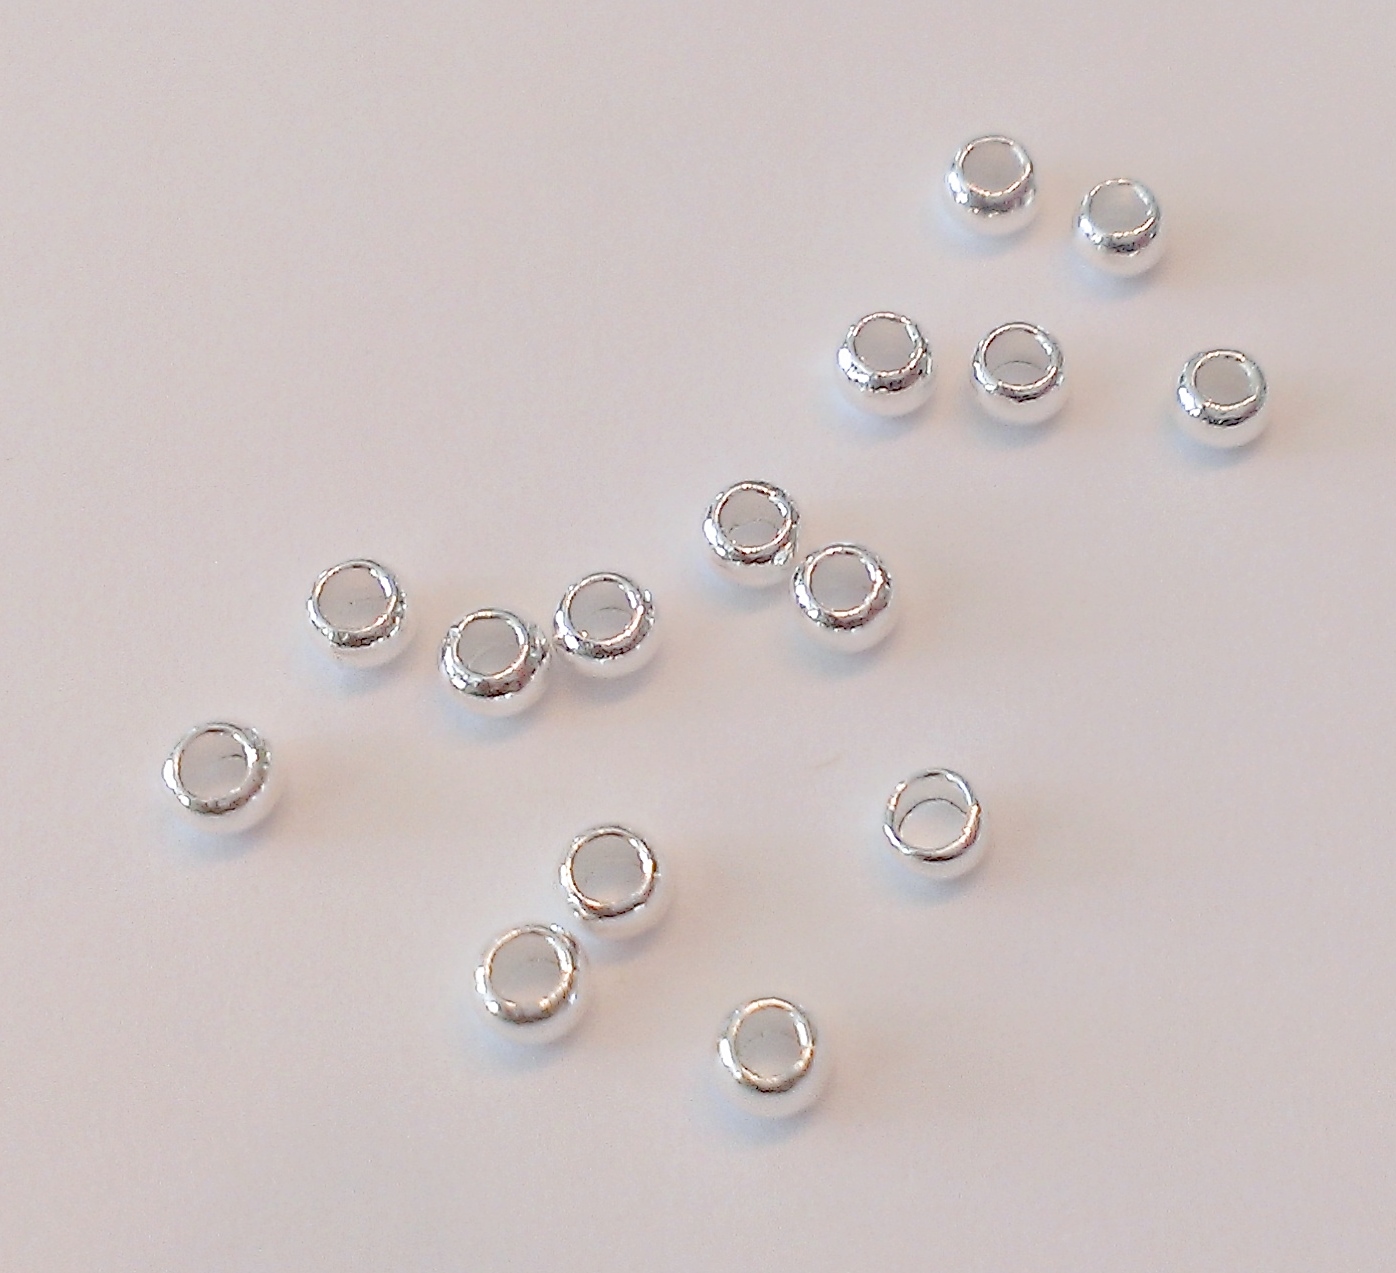
4. Crimp Beads
Since I use beading wire, I must also use crimp beads. The crimp beads will secure the chosen bead on the wire. I also get these in multiple sizes as sometimes the whole in the bead is large and sometimes it’s small so I select the crimp bead accordingly.
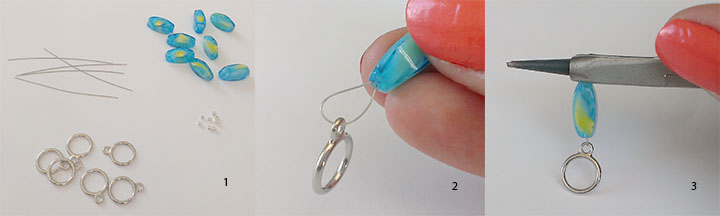
5. Putting it Together
Set up all your material so you know you aren’t missing anything (1). Place the bead through the wire and around the clasp and push the other end of the wire through the bead (2). Place a crimp bead on the ends of the wire and squeeze closed using crimp pliers (3). Cut off the ends of the wire.
6. Admire you Work
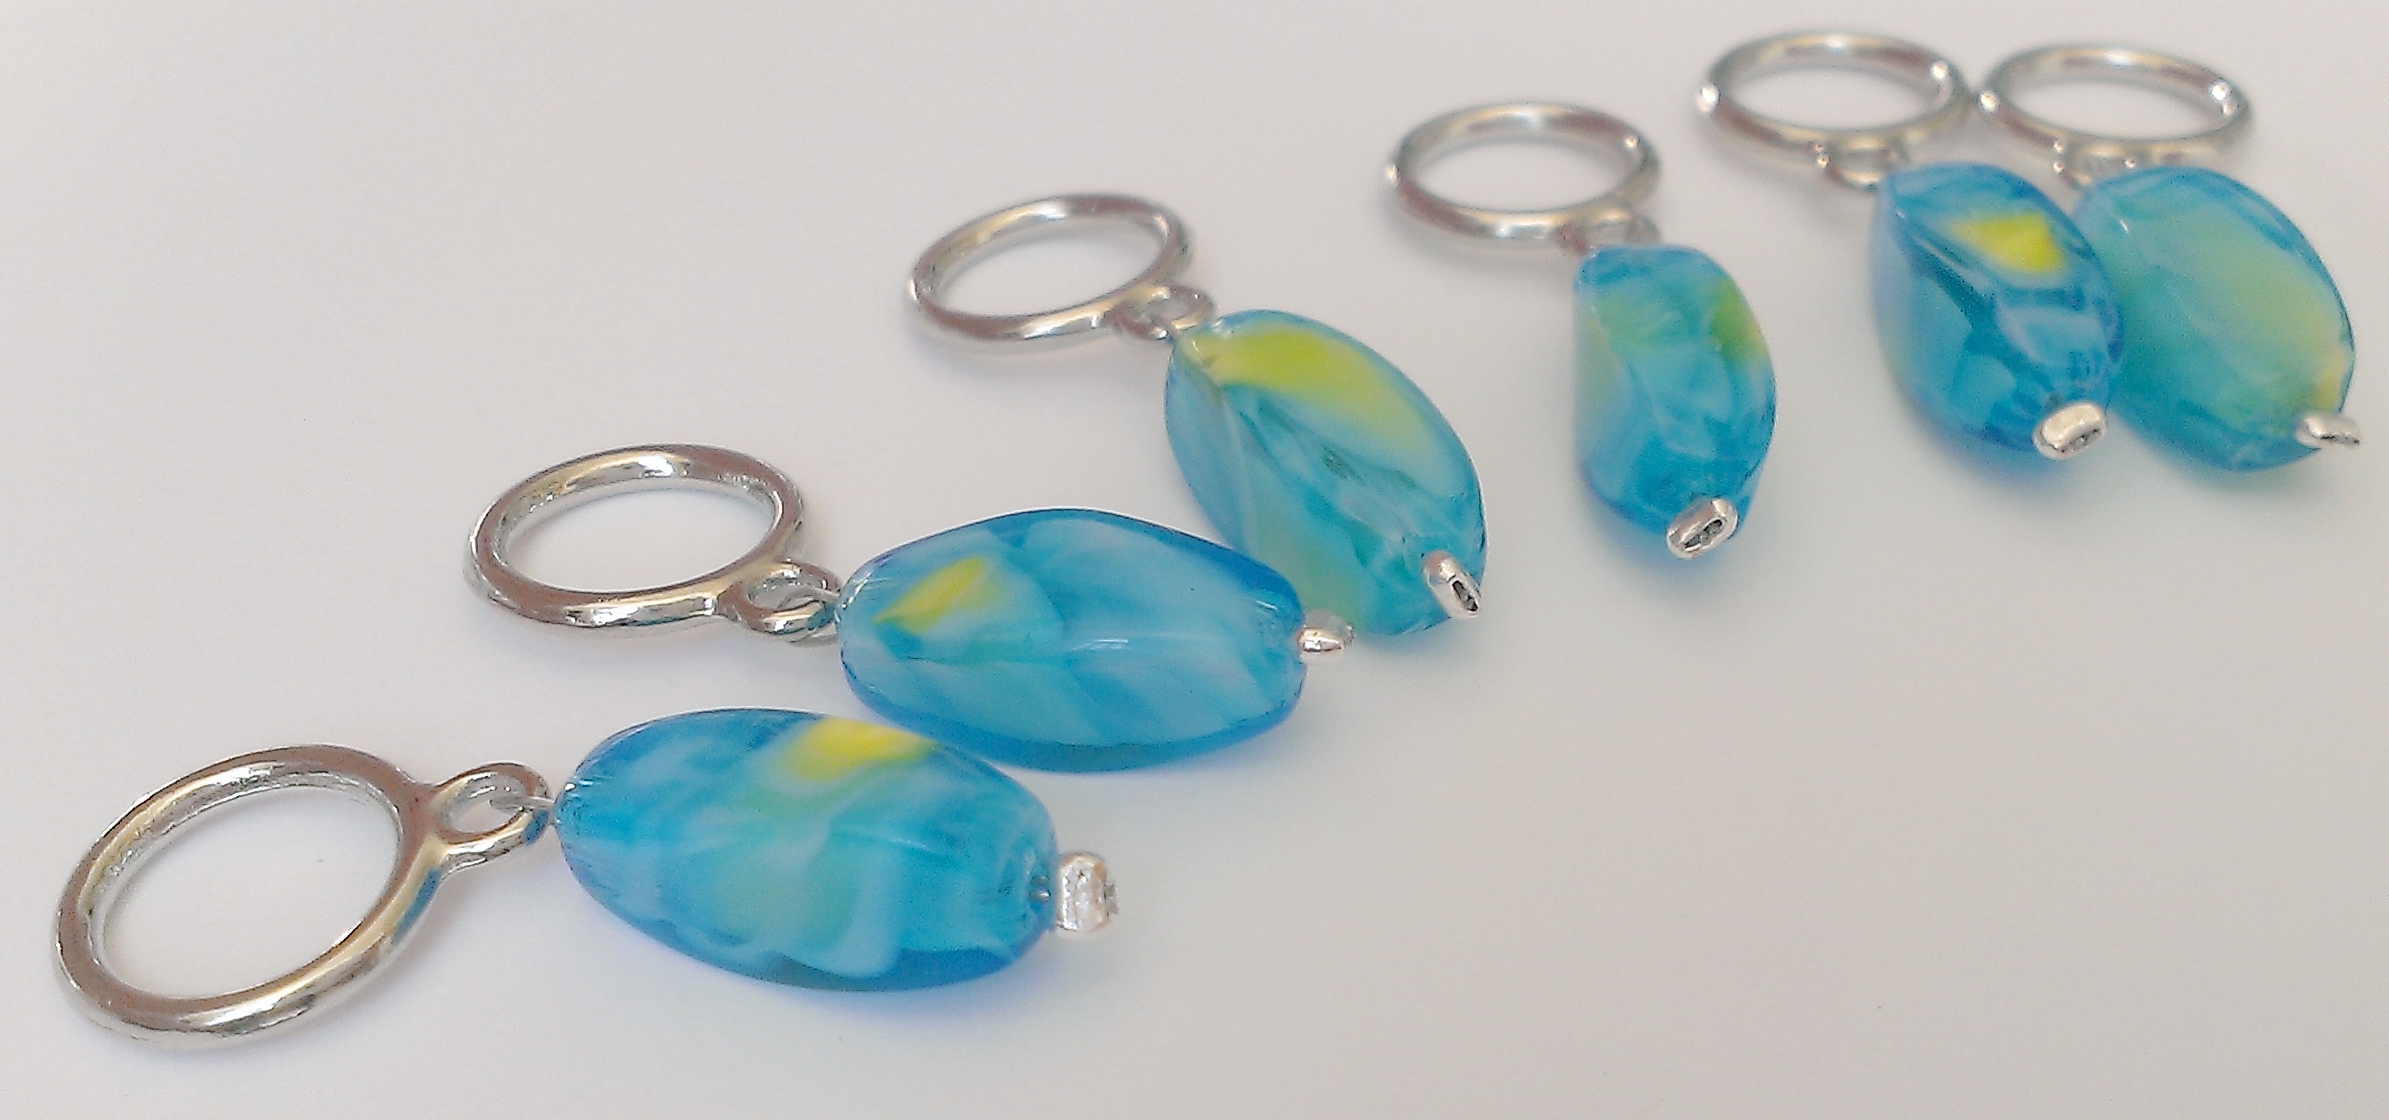
Now it’s time for you to start making your own.
Happy Knitting,